


Realizzazione Corone per Strada e Mtb
for SRAM XX1-XØ1 11 speed 10/42 cassette
Original 42teeth cog can be replaced with an ARI cog with same teeth
you can put an ARI 42 teeth, an ARI 44 teeth or 46 teeth upgrade cog without any modification
on your bike replacement is easy and fast (see videos attached)
ARI 44 teeth and 46 teeth cogs expand the range of use in Monoring layout
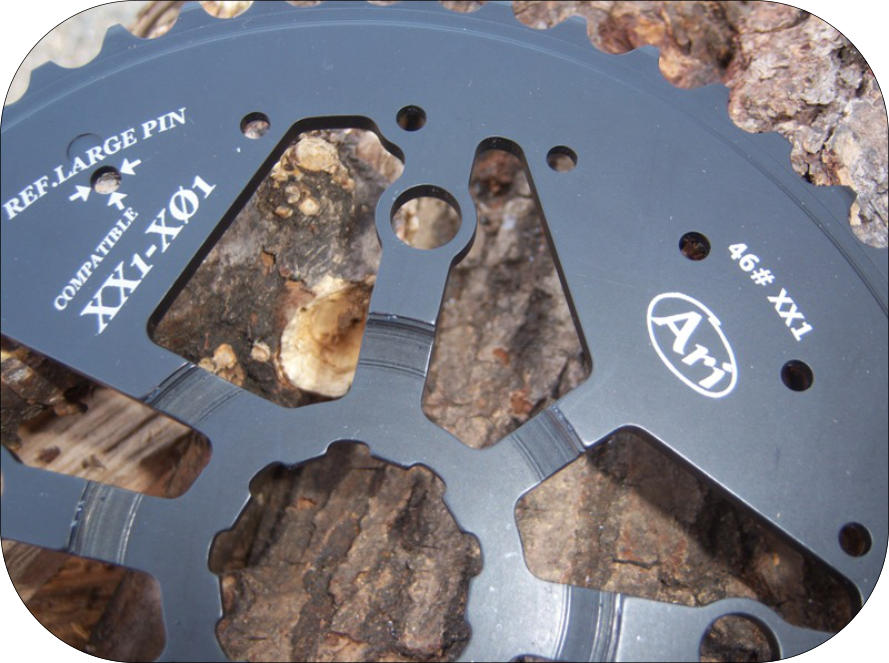
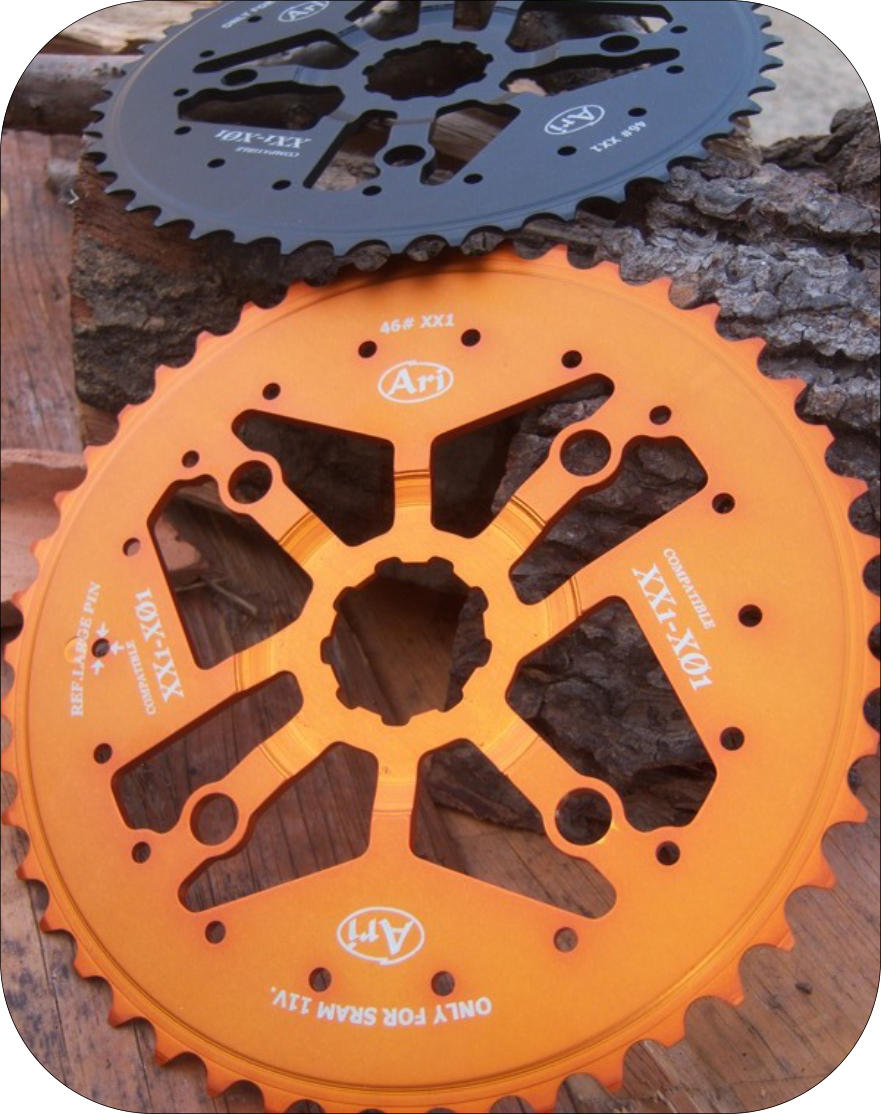
material used is hard anodized ERGAL 7075T6
all rage of colours is available in the color chart
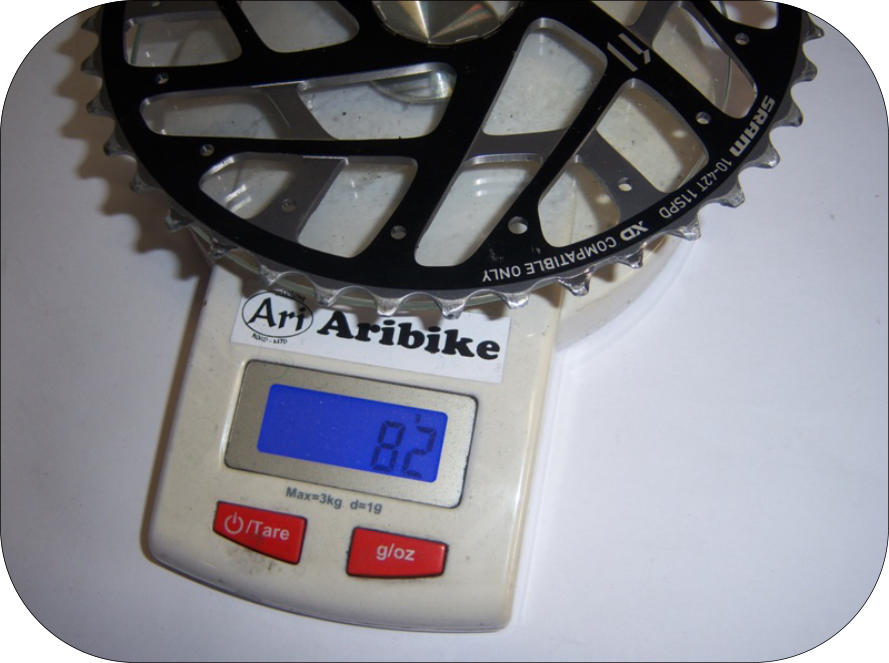
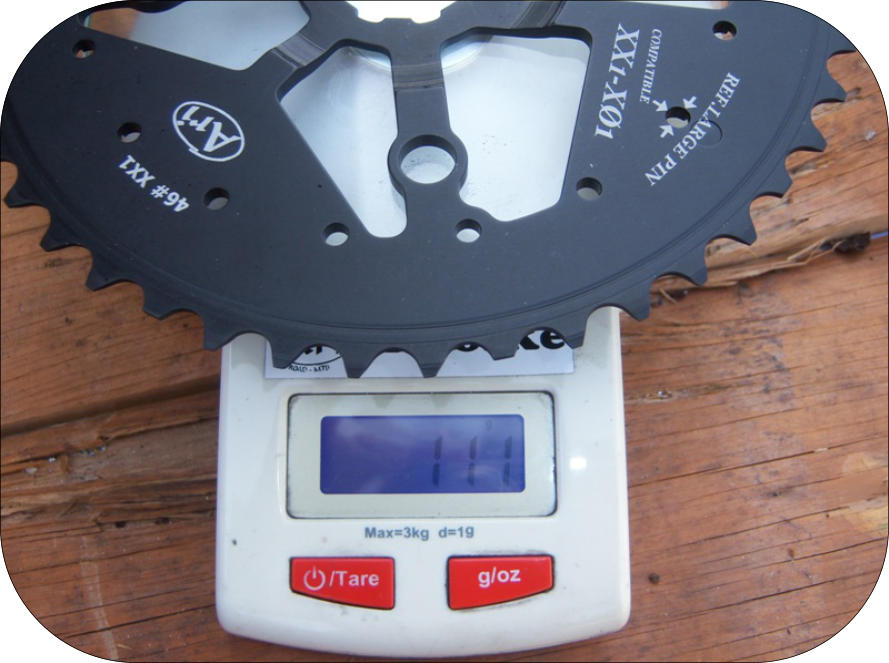
Weight of 42 teeth cog is 82 grams (like the original)
Weight of 44 teeth cog is 90 grams
Weight of 46 teeth cog is 111 grams


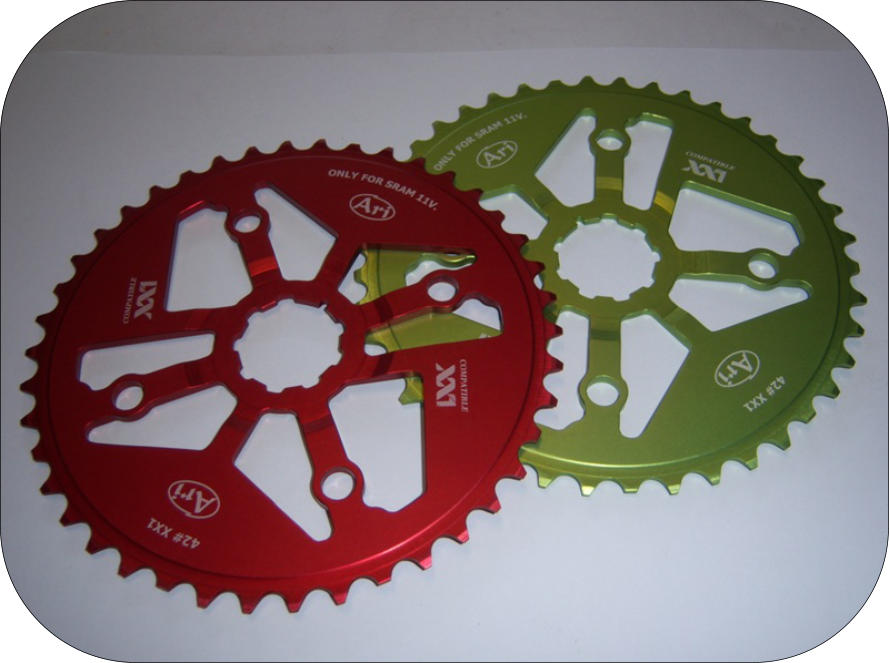
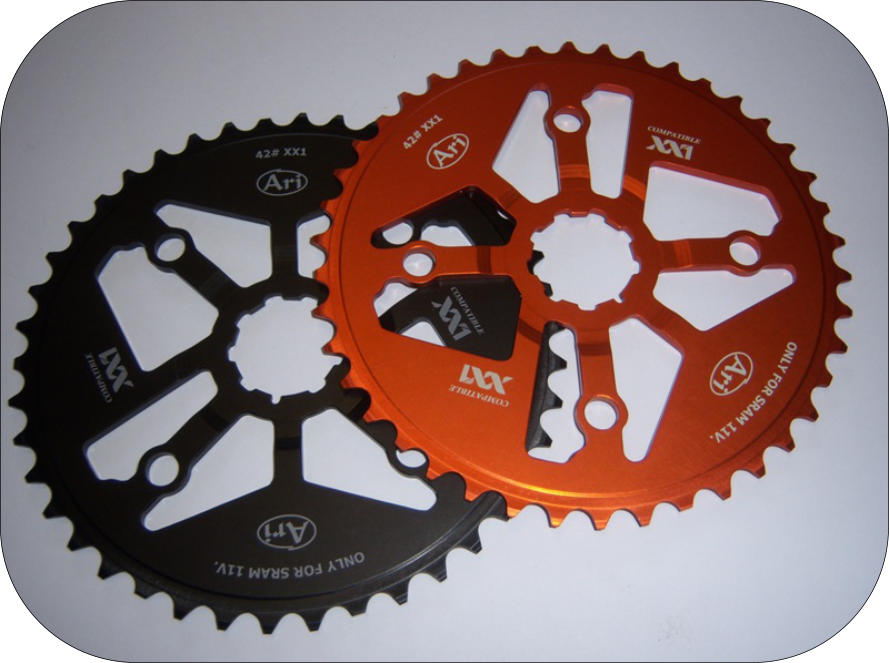
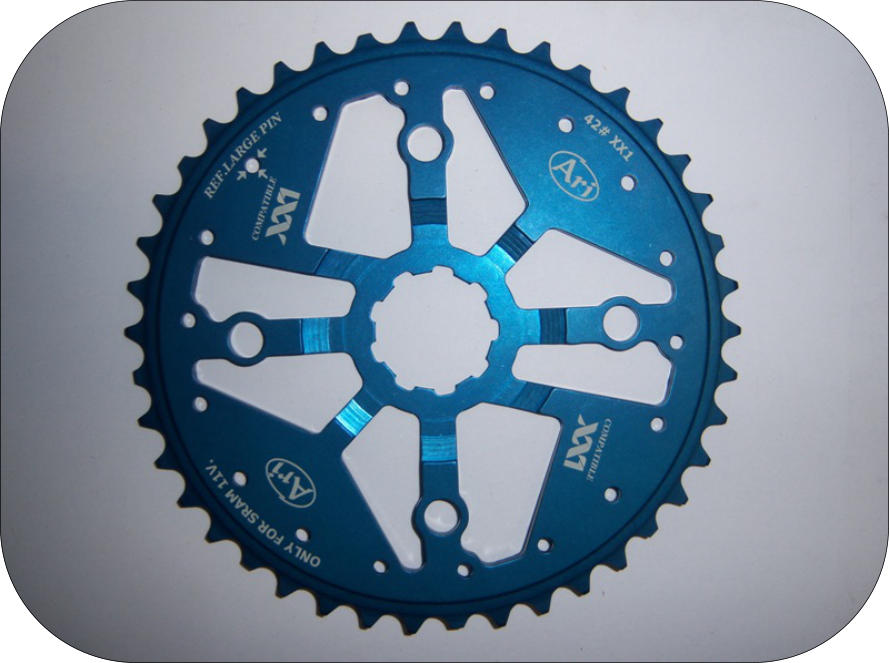
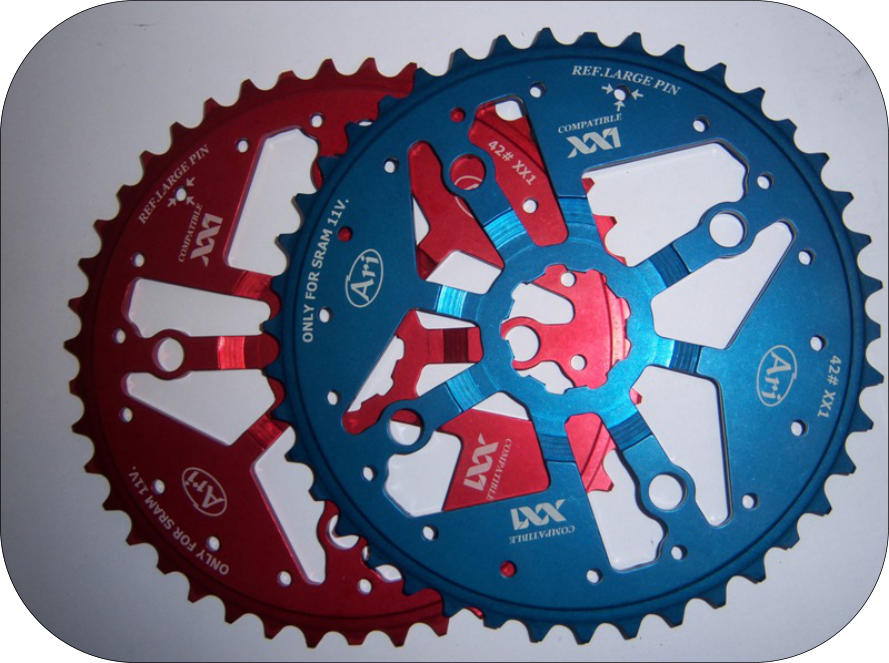


ARI spare/upgrade cog for SRAM XX1 and XØ1 cassette
Place Order

XD driver body for Sram XX1 / XØ1 cassette
Derailleur adjustment instruction with ARI cog on XX1 / XØ1 cassette
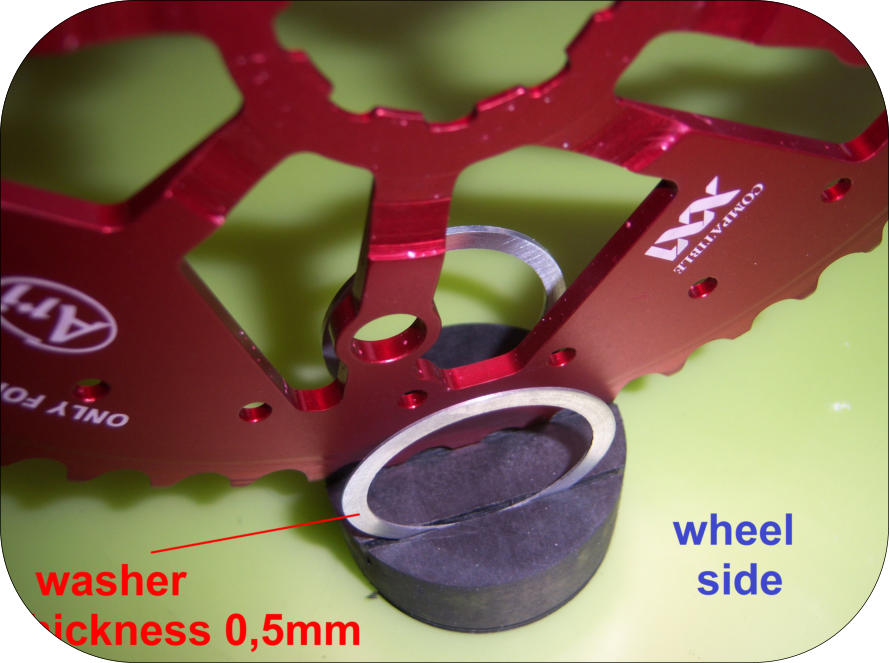
Position of the washers
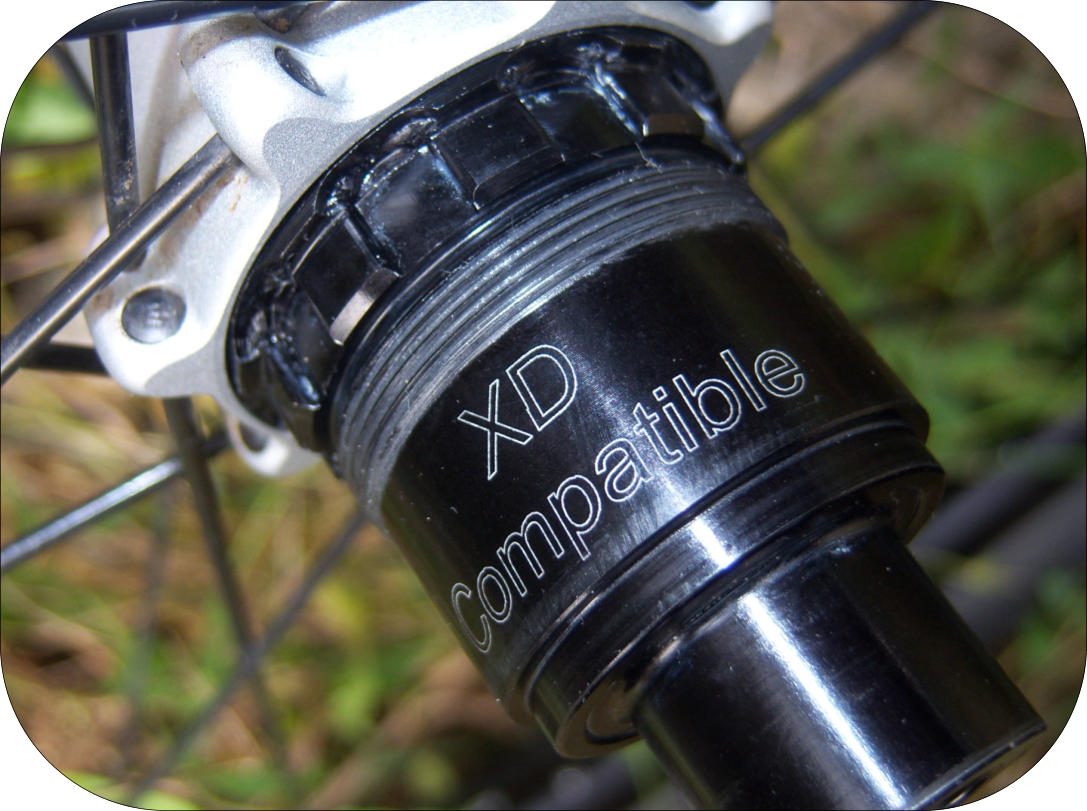
Hub Compatibily
Consigli regolazione lunghezza catena con monoring
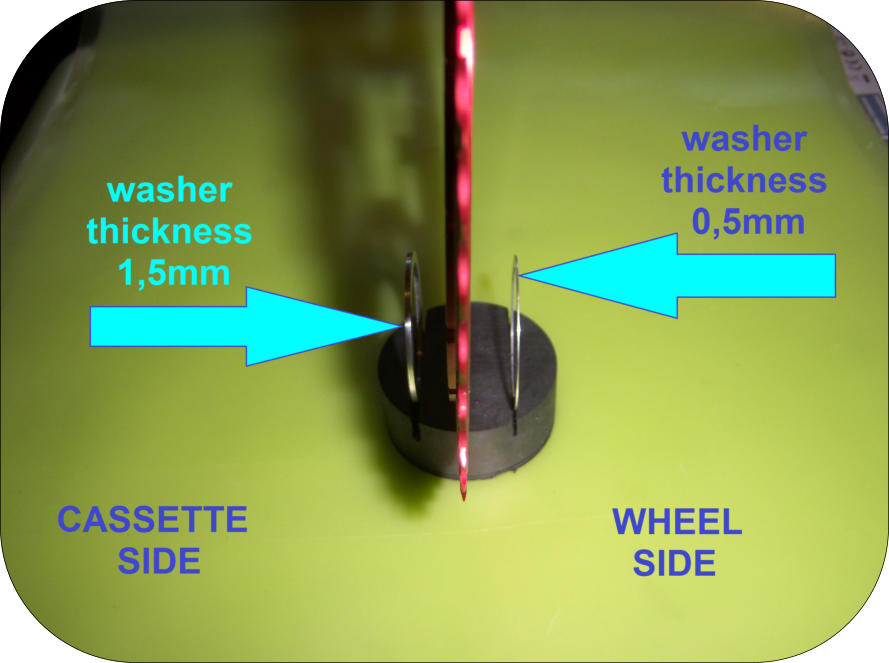
Position of the washers (version with washers of two different thickness)
ATTENTION!!!
as indicated in photos on the side, pay attention in positioning the 0,5 thickness washer towards
the wheel and the 1,5 washer towards the cassette
To invert the position of the washer can cause the breaking of the cog
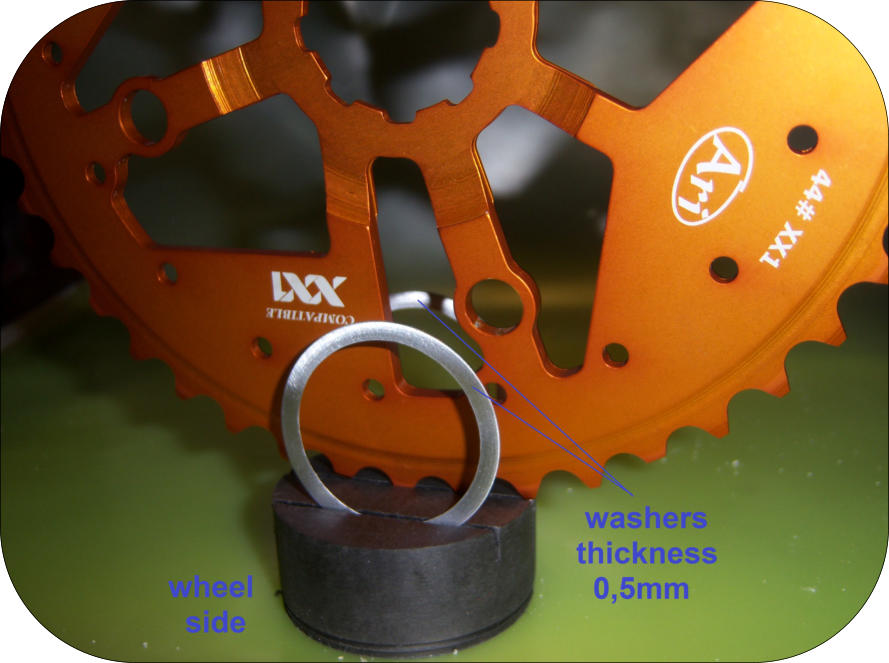
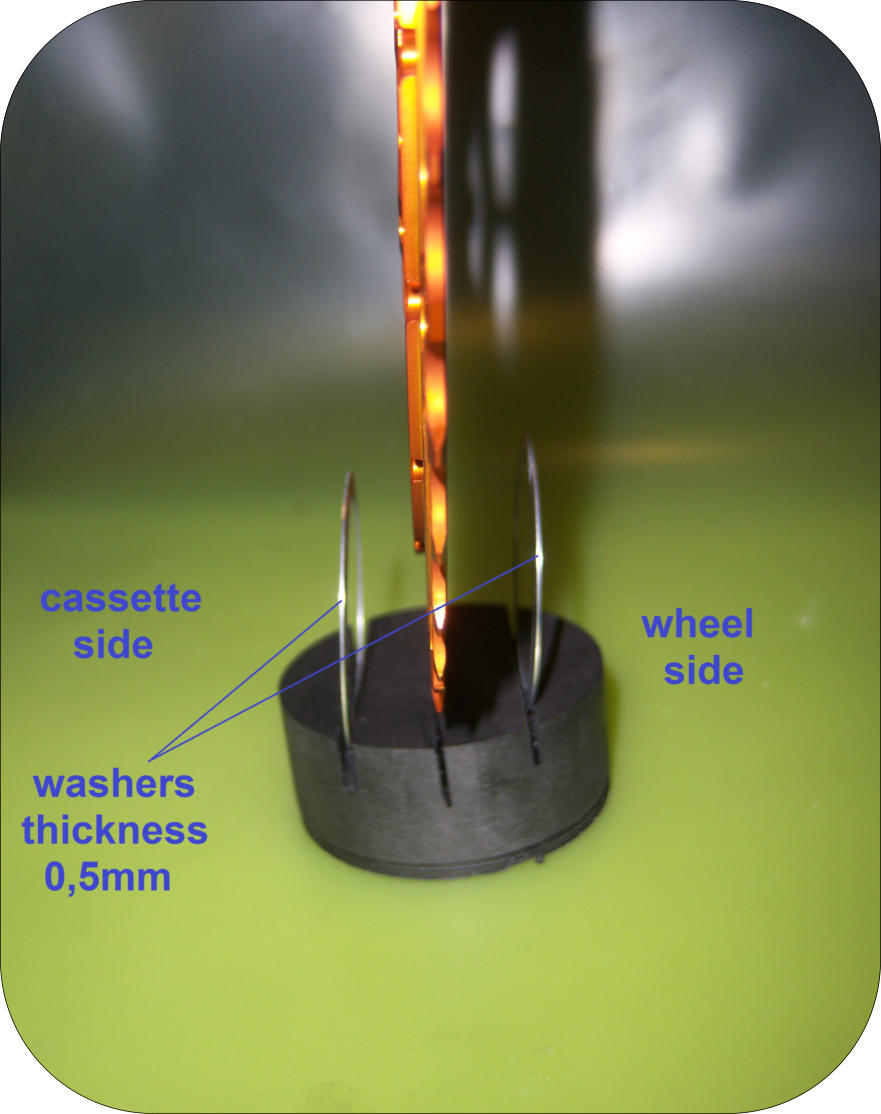
Position of the washers (version with washers of same thickness)
ATTENTION !!!
as indicated in photos on the side, pay attention in positioning the washers thickness 0,5 one on the
wheel side and the other on the cassette side
To place the two washers on the same side can cause the breaking of the cog
On completion of the mounting of ARI cog for XX1 cassette, follow these simple instructions to adjust the derailleur
1)
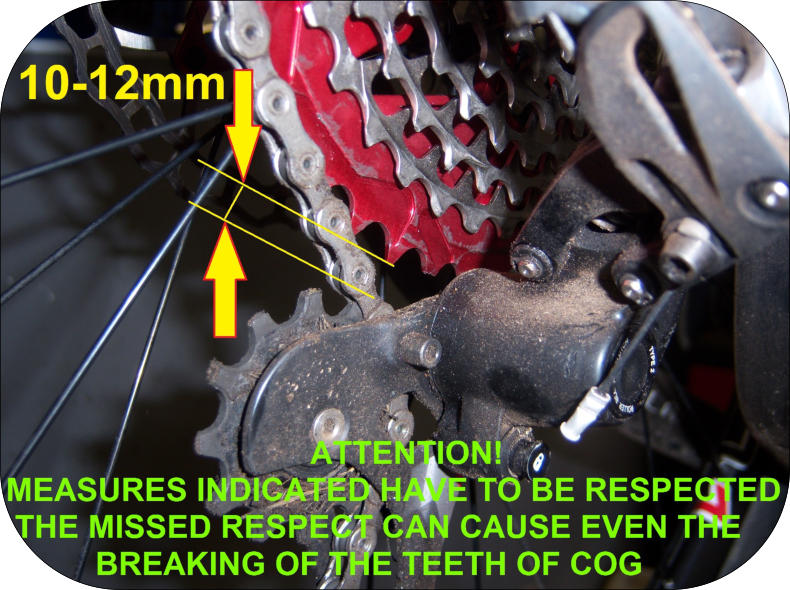
Place down one of the teeth of ARI cog perpendicular to the ground (do not choose a
milled tooth)
2)
Place upward one of the teeth of the upper pulley of the derailleur always perpendicular
to the ground
3)
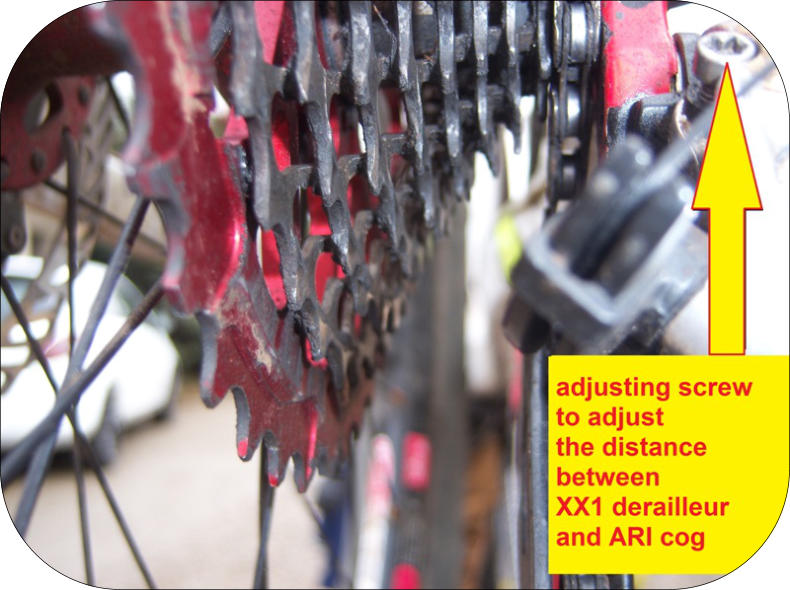
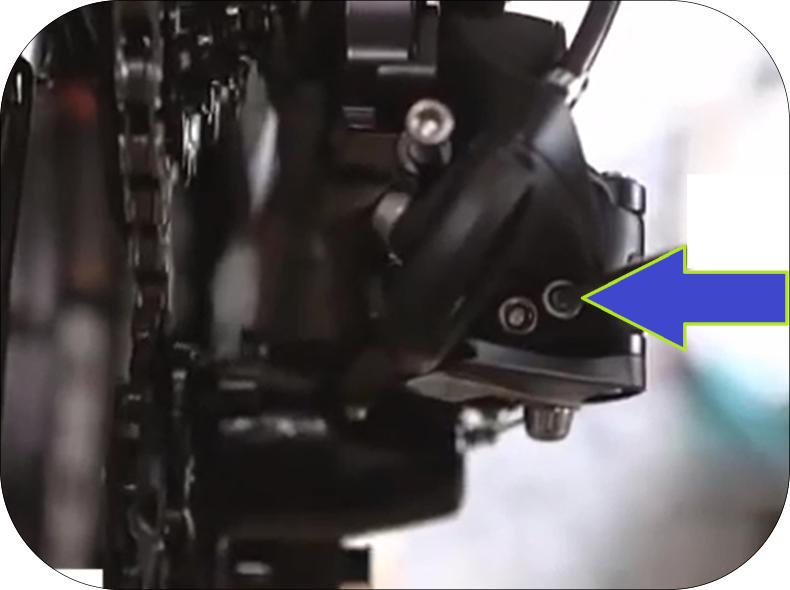
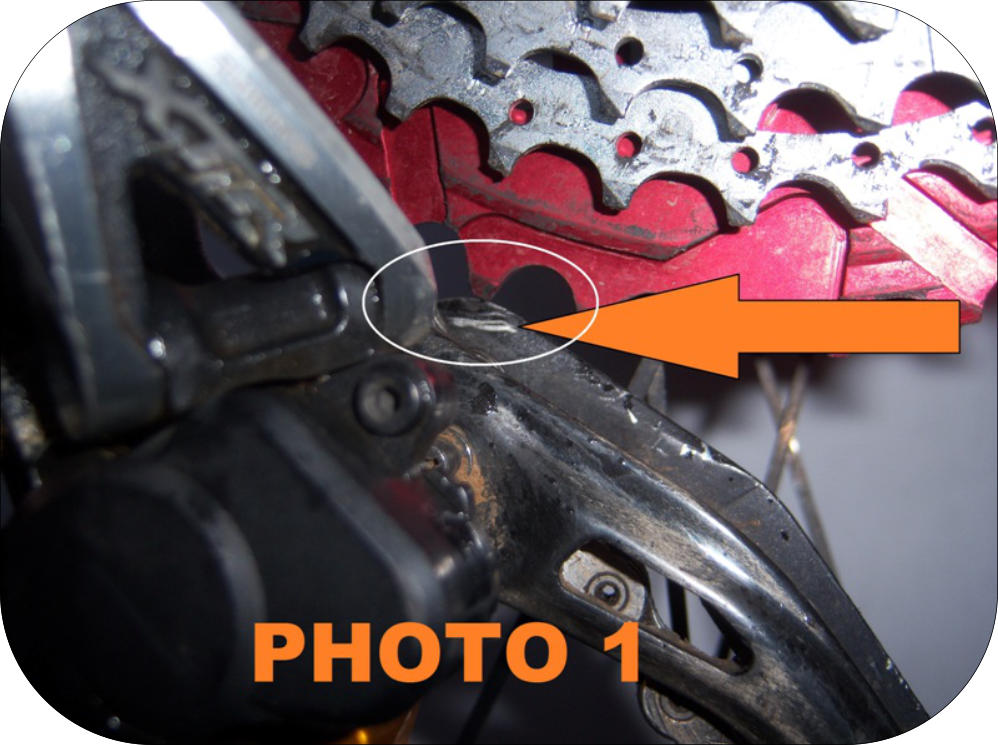
By turning the adjusting screw of the derailleur (photo 1) adjust the distance between
the teeth at an height between 10 and 12mm (photo 2)
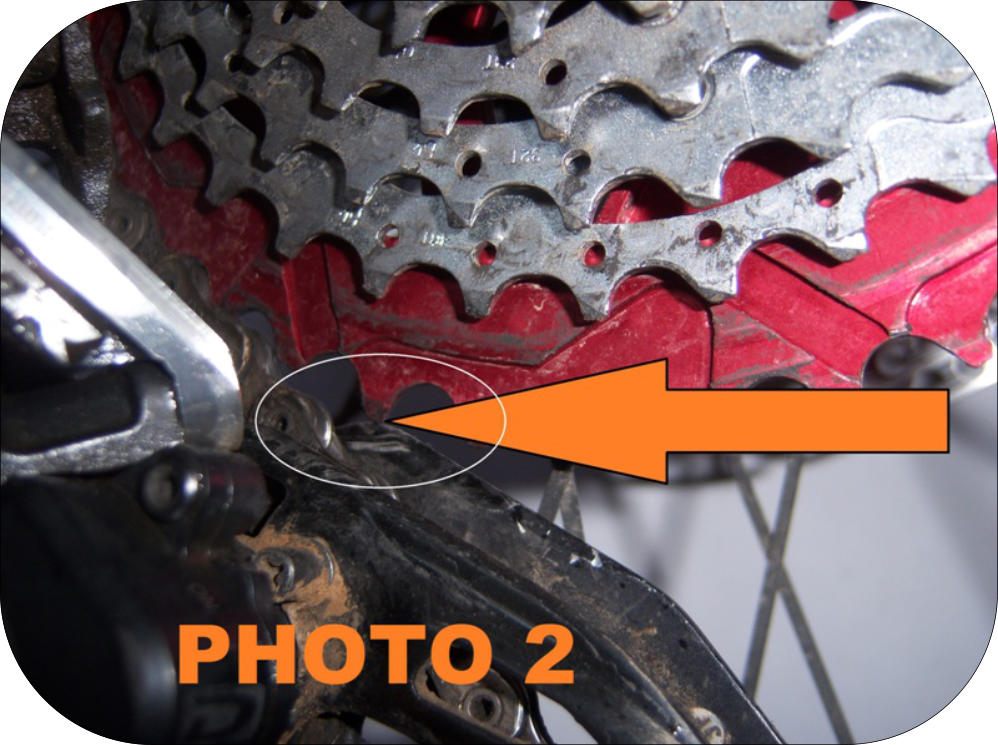
N.B.
Screw L of the rear derailleur has to be generally unscrewed of one-half turn, this allow the chain to shift up
efficiently on the cog added because the cassette is slightly more internal than it was originally (photo 3)
Photo 1
Photo 2
Photo 3
Adjustment instructions of rear derailleur with larger cogs
Instructions for the correct adjustment of rear derailleur with larger cogs
In the distance adjustment of the rear derailleur from the teeth of the larger cog you have to take extra care that the inner cage
of the derailleur itself, especially during descent, does not touch the gear tooth.
In the photo 1 it is shown the inner side of the cage marked by the tooth of the cog because the adjustment WAS NOT
CORRECT
In the photo 2 it is highlighted interference between the internal cage of the front derailleur and the end of the teeth of the cog;
also in this case the adjustment WAS NOT CORRECT
N.B. ATTENTION, THE INTERFERENCE OF THE DERAILLEUR CAGE WITH THE TEETH OF THE COG CAN CAUSE THE
BREAKING OF THE TEETH OF THE COG
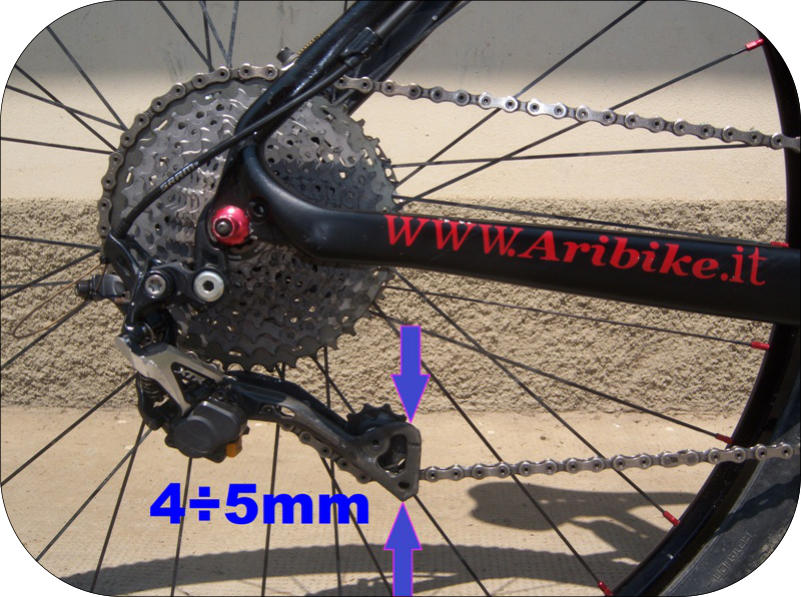
Suggestions for length regulation of chain with monoring
Suggestions for the correct and efficient regulation of the chain lengh with monoring
To avoid accidental falls of the chain with the use of monoring without guidechain it is necessary that the lenght of the chain itself is
perfect.
With the chain positioned on the largest rear cog, as is highlighted in the photo, the movement of the front derailleur should be
approximately between 4 and 5 mm
cod. 137
€ 90.00
